DNS Verification For Your Personal Website With Brave Creators
2022-01-24 - Bradley Leonard
Brave Creators domain verification
On the road to creating awesome content you may want to find ways to monetize your creations. With Brave Creators, you can unlock a new channel of revenue through collecting BAT tips that your audience can give you using the Brave Browser. Using this tutorial, you will be able to verify your domain with Brave Creators so you can start collecting those tips and earning money for those fantastic works of passion.
How to verify a channel for Brave Creators
There are two methods of verification for a website channel (and a third one if you run a Wordpress website). The first method is called File Upload Verification and involves uploading a file to the website in a specific spot. We aren’t going to be going over that method today and are instead going to do the second method, DNS Verification.
What is DNS verification?
DNS Verification is the act of adding an entry to your domain that proves that you own it to the service that you need to verify for. Think of it this way, you might ask a construction company to do work on your house. They come back to you and say, before they can do work on your house, you need to prove you own it by putting a sticker in the window so when the construction crew comes by to work, they know that you both own the house and that’s the house they should be working on. This way your neighbour can’t trick construction company to do the work on their house rather than yours.
How to do a DNS verification
The process of DNS Verification for Brave Creators can be broken down into 3 easy steps…
1. Getting the DNS verification record from Brave
Log in or sign up to Brave Creators if you haven’t already. On the homepage, you should be able to click the “Add a Channel” button.

Add a Channel
Choose website as the channel and enter in your apex domain. An apex domain is the top level domain (ex. apex: google.com vs sub: www.google.com or apex: technickel.dev vs sub: blogs.technickel.dev). Finally, decide if you will allow Brave to serve ads on your site.
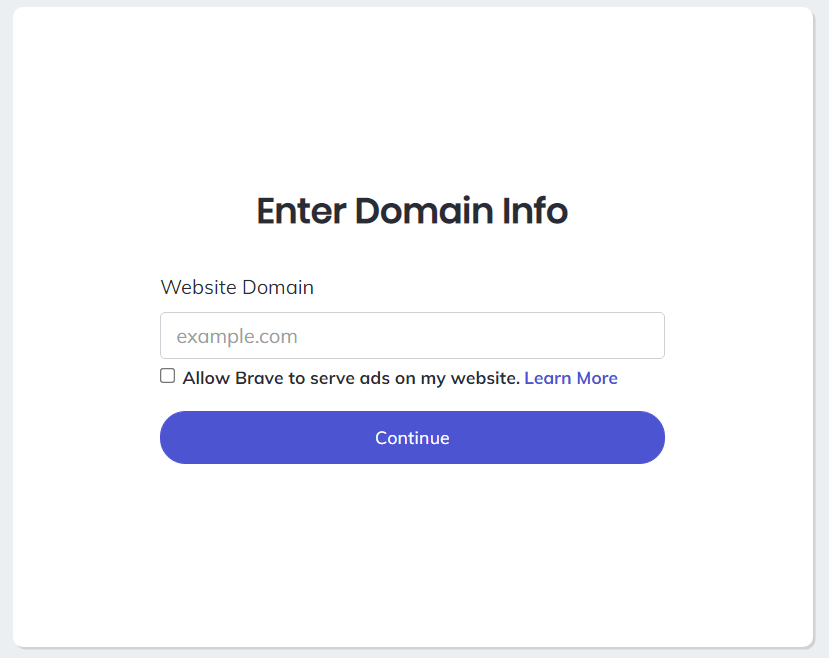
Enter Your Apex Domain
Next you’ll be given the choice to do the File Upload Verification or the DNS Verification, so we choose the DNS Verification.
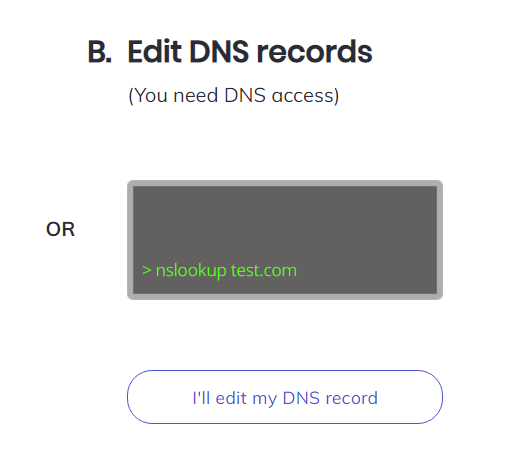
Choose DNS Verification
We are finally at the end of this step, all thats left to do is copy the string in the TXT Value box.

Copy TXT Value
2. Create the DNS record in your domain registrar
Log into your domain registrar, ie. the place where you bought your domain. My domain currently exists on Google Domains so that is what I’ll be using for this tutorial, though the process shouldn’t be much different for other domain registrars. First navigate to the domain and then the DNS area for that specific domain.
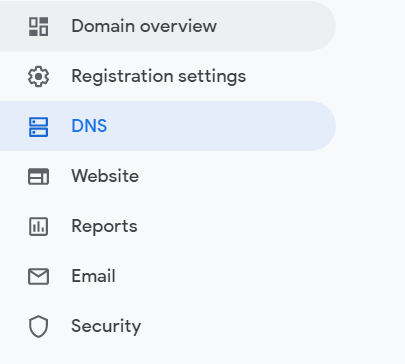
Navigate to DNS Area
It should bring you to a page that may or may not have content already on it depending on how you’ve used your domain. We need to add a new custom record for the TXT record that we copied from Brave Creators.

Manage Custom Records
Before we actually add the record, let’s break down what the individual fields stand for:
- Host Name - represents the domain variant that you will be applying the record to. In our case we are going to leave this blank as Google domains automatically applies the apex domain. You may have to use ’@’ or your actual domain as your value depending on who your registrar is.
- Type - this is the type of the record. In DNS land, each type of record specifies doing something different. Our record is going to be a TXT record, which is just a record that contains text for sources outside of your domain. (Ie. Brave Creators)
- TTL - how long before the copy of the record hosted on the server is updated or deleted. This is not overly important for our purposes, so we will leave it at 1 hour.
- Data - this is the actual value that we want for the record. In our case, we want the value that we copied from step 1.
Now that we understand what each piece of the puzzle does, all that’s left to do for this step is to make the record. Fill in the information as explained above and click save.
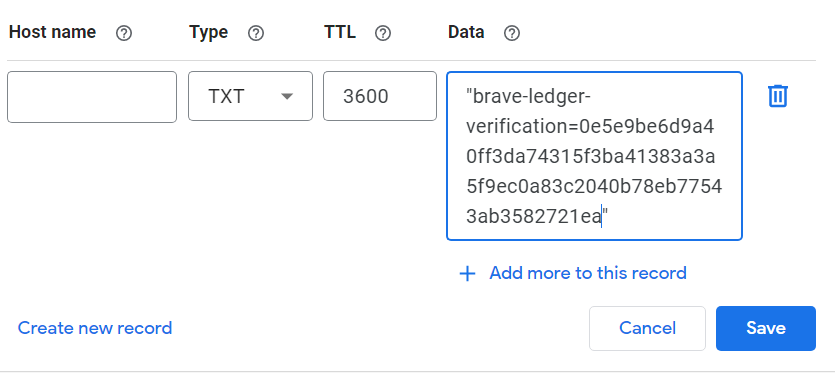
Create the DNS TXT Record
3. Wait and verify!
The hard part is now done! Since DNS takes a bit to update, it make take up to 24 hours for the changes to take effect. To see if it worked, periodically try to verify the domain on the Brave Creators side by clicking the “Verify DNS Record” button. If everything was done right, after the DNS propagates (again which may take up to 24h) then Brave Creators should recognize your domain as verified.

Verify DNS Record
After your domain is verified you should be able to navigate to your website using the Brave Browser and by clicking on Brave Rewards see that you can tip on your website and that it is a verified creator. This may take some time to update on Brave’s side, but should show up eventually. This can be seen in the image below for my personal website!
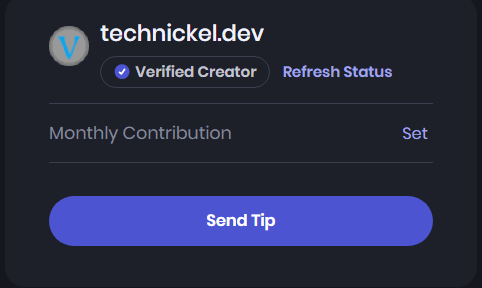
Confirm Verification
Recap
Congradulations! You are now a verified Brave Creator for your personal website. You can repeat the process for any other websites you might own, but keep in mind that you do not have to repeat the process for sub domains. By doing the steps for you apex domain, it should apply to all sub domains. Now all that’s left to do is to create awesome content and let your audience know that they can support you by leaving a tip!